
HOW TO USE YOUR WATER TESTING KIT
First things first!
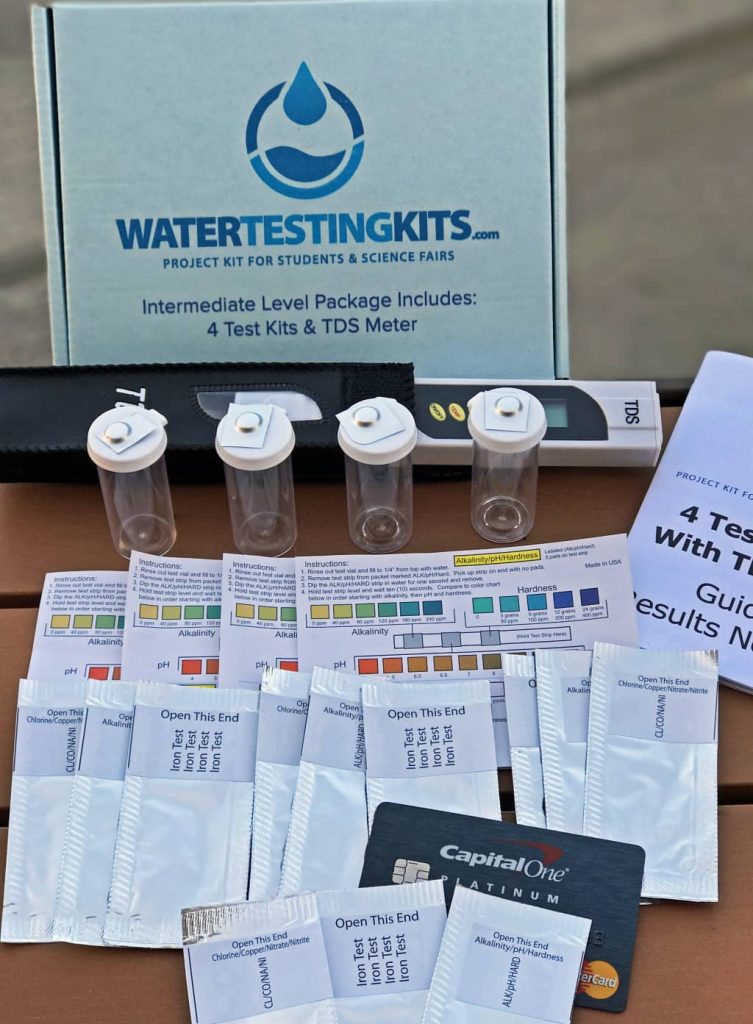
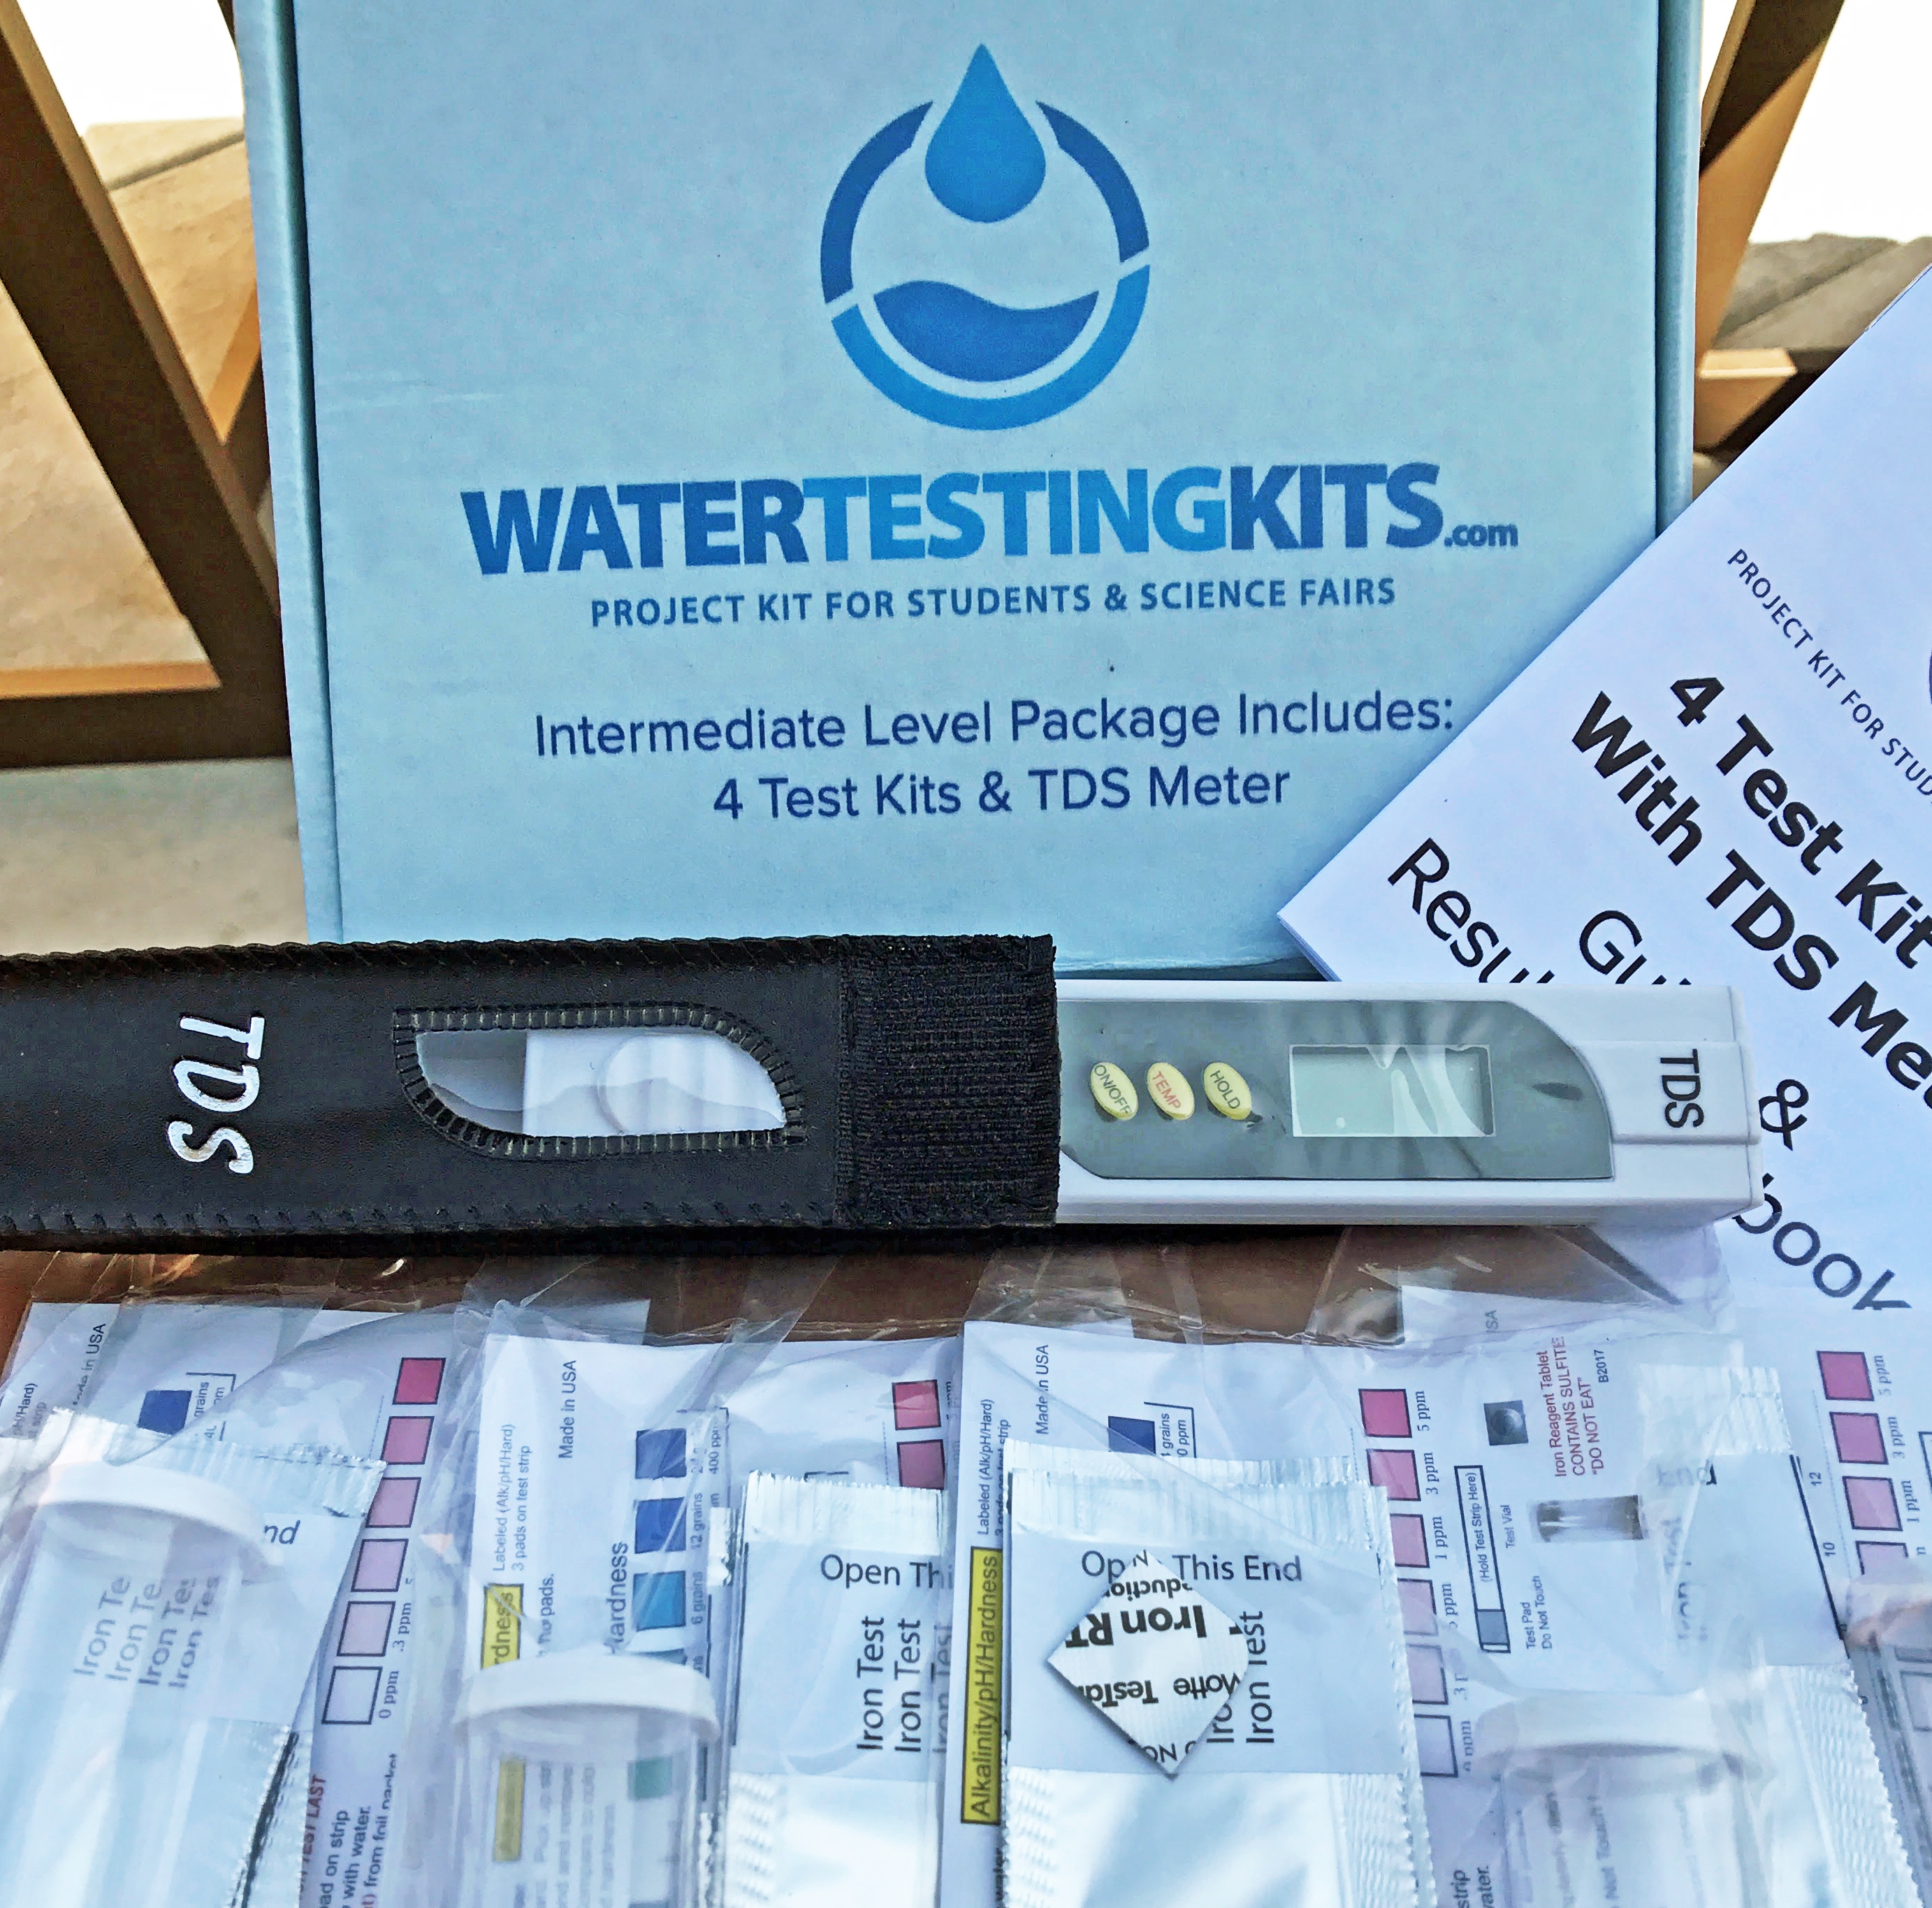
Make sure you have all the contents of the box if front of you. The box will contain:
- 4 test kits
- 4 sample containers (1 in each package)
- 12 test strips (3 in each package)
- 4 Iron tablets (1 in each package)
- 4 Instruction guides (1 in each package)
- 1 Guide & Results Notebook (Just 1)
- 1 TDS Meter (The thing in the black case)
- 1 Master Card with $10K on it (Limited 1 Time only Bonus)***
***Sorry, We only gave out one Master Card and I actually used it already. The Good News…You get 4 iron tablets!
Make sure you read through the instructions provided found in the booklet and the Color Test Charts
The first test we are going to do with your water testing kit is to check your Alkalinity / Hardness / pH. You are going to carefully open the foil wrapper, which contains a test strip. It is labeled Alkalinity on the package.
Be careful that you do not grab the test strip by the wrong end because it will bite you and your hair will turn blue.
(Doesn’t happen to everyone)

Looks basically, almost totally, exactly, like this bellow
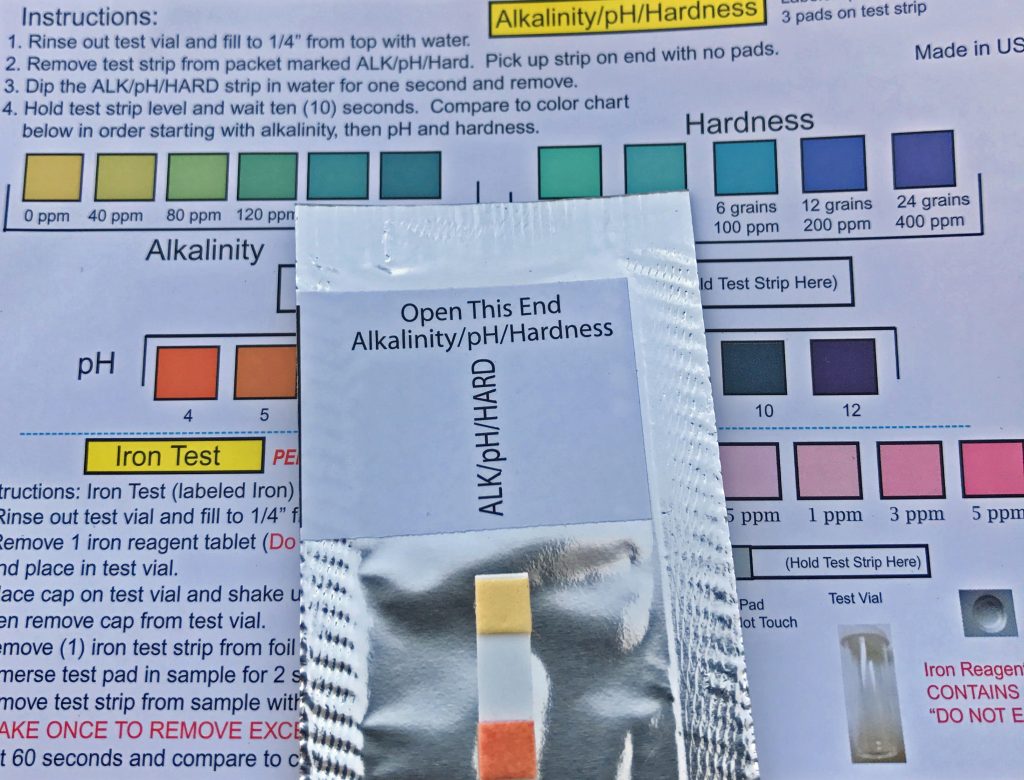
- Next thing you are going to do is to grab one of the four little plastic containers. Take the lid off. Fill it ¾ of the way with test water A.
- Then grab the test strip by the end without the little felt bumps on it and put it into the water container for like 1 second. Like really, only one 1!
- Then hold the test strip level for 10 Seconds (seriously 10, I would just count em out loud. 1 then 2 then 3, etc…)
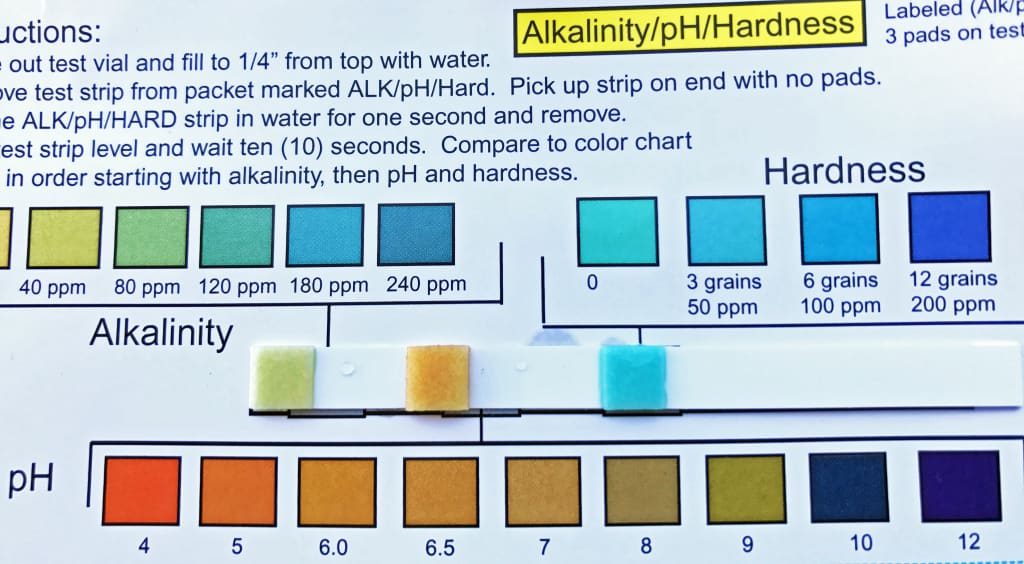
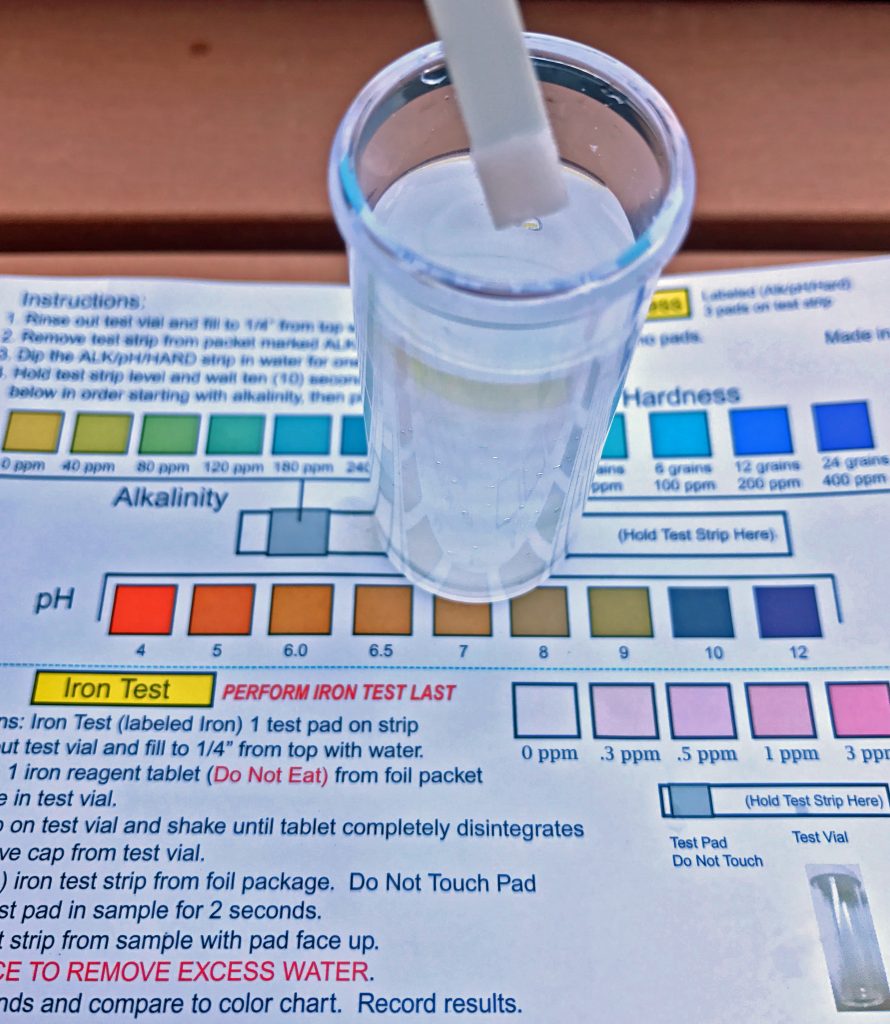
Now you are going to check the first fury bump on the left for Alkalinity, the middle fury bump for pH, and the last fury bump on the right, for Hardness.
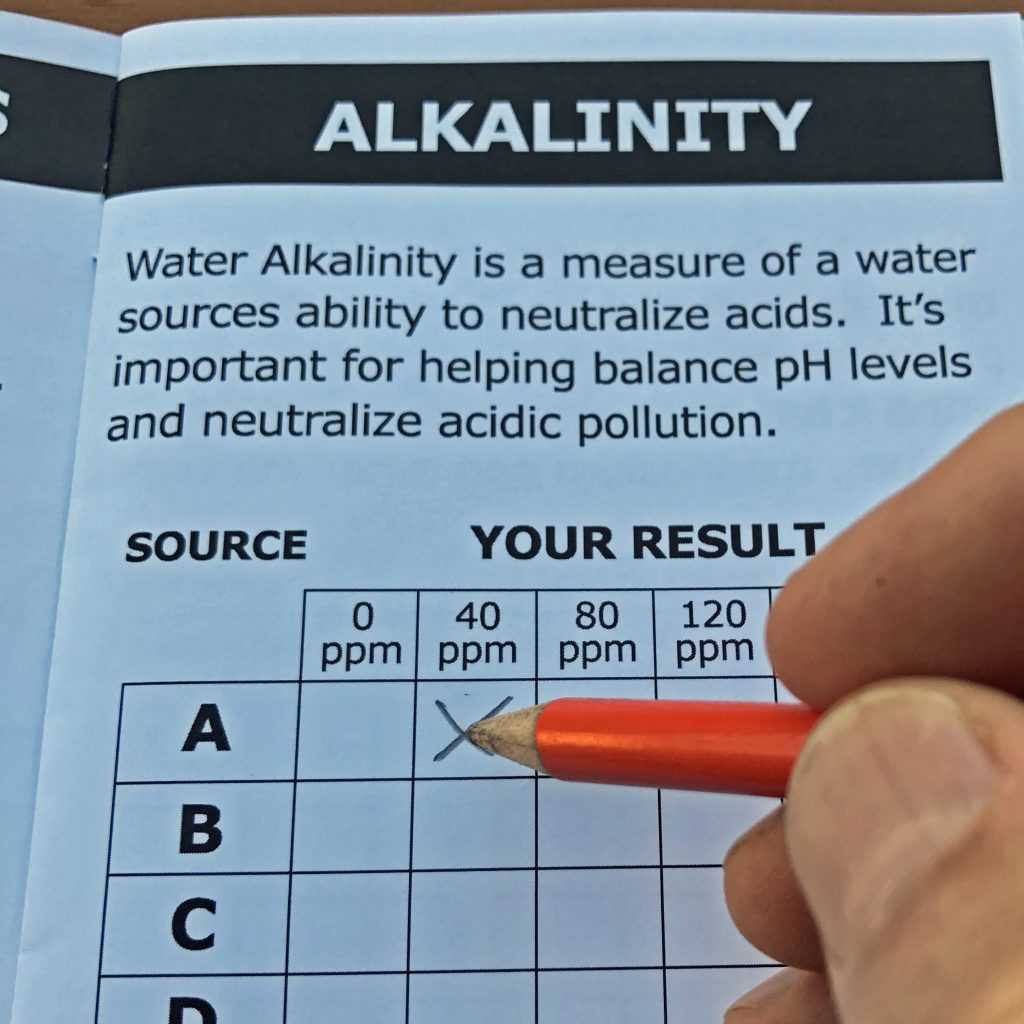
Make a check mark in your little booklet in the A column to show where the ppm.
You are going to do the same thing for the Chlorine/Copper/Nitrate /Nitrite test.
IRON TEST

See that little small pill looking package?
That is the iron tablet…
DON’T EAT IT!
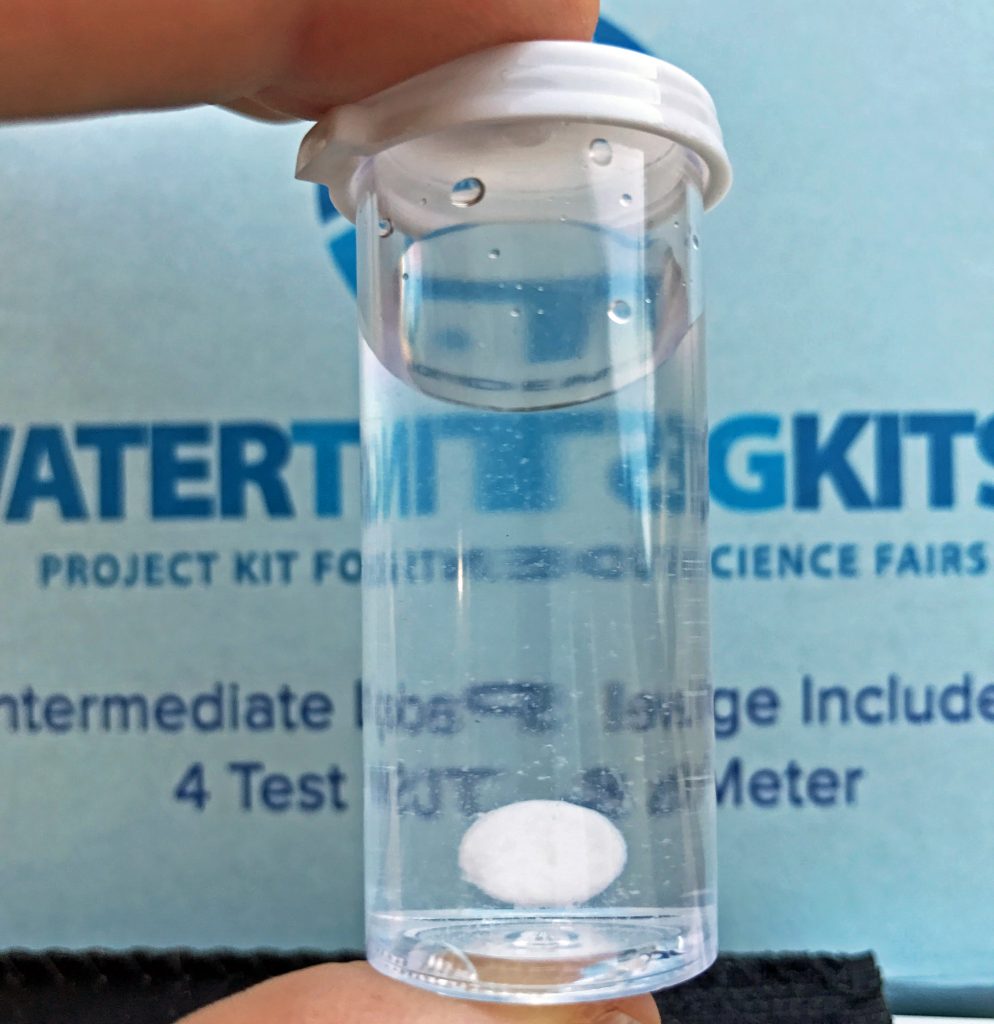
- What you’re going to do next, is to take that little white tablet and put it into a clean container that is filled with, yes you guessed it, ¾ full of water.
- Put the tablet in the water, cap it with the white cap and shake! It has to dissolve until you do not see it any more.
- It works best if you play some music on your smartphone as you do this. Make sure it’s really loud so your teacher can hear it.
- You will know it’s done when the tab is gone and the water is cloudy.
Open the container and put the iron test strip into the water for 2 seconds.
Count… one 1000, two 1000, Done.
- Make sure there isn’t any extra water on the test strip by giving it a quick shake. Give it about 60 seconds (That’s one minute depending on the time zone).
- Then, check to see what color it looks like, just like you did before with the other tests and record your result in the cool little book we made for you.
Total Chlorine/Copper/Nitrate/Nitrite
Turn the instructions for the Iron test over and WOW another cool test!
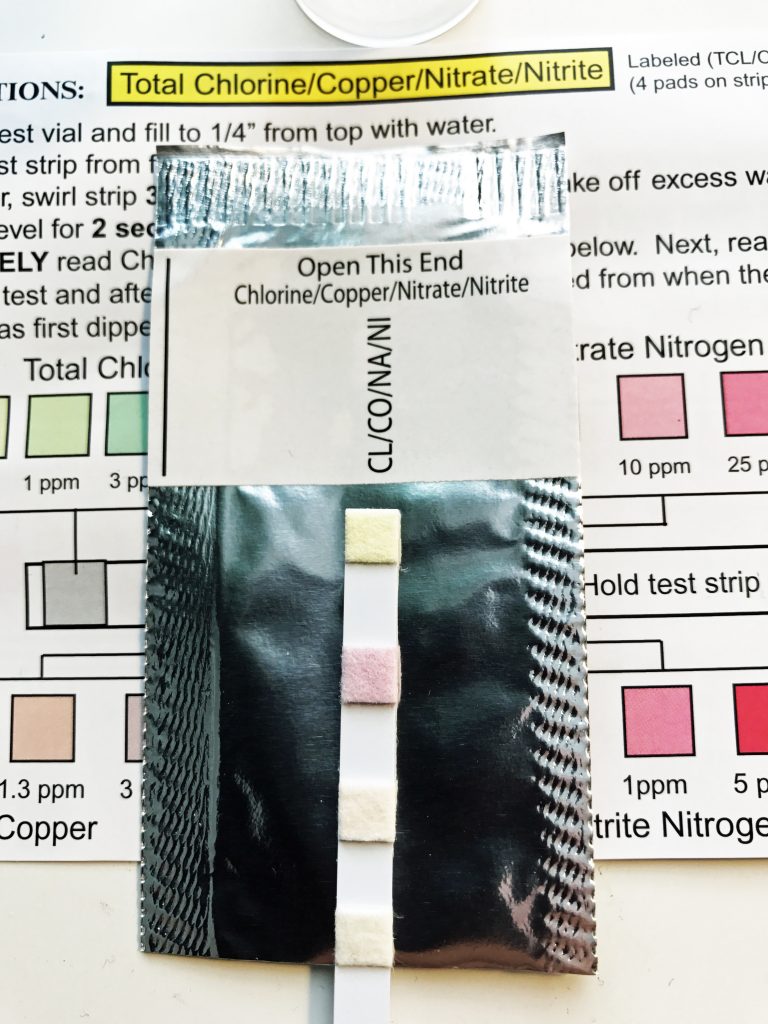
This time you are going to test for Chlorine and Copper and Nitrate and Nitrite (not to be confused with Nitrate; note the “ate” and the “ite” at the end of the word”… Sounds like this… “I ate an entire pizza last night”). So you have Nitrate and Nitrite.

Dang, now I’m Hungry! Don’t think about PIZZA! WATER TEST… Focus people!
- Fill your little plastic container with water ¾ full. Carefully take the test trip out the the foil packaging (don’t forget about the green hair thing).
- Now you are going to dip the test strip into the water, making sure that all four little fury pads are dunked 3 times.
- Ok, now pull the strip out of the water and hold it level for 2 seconds… 1 – 1000, 2 – 1000.
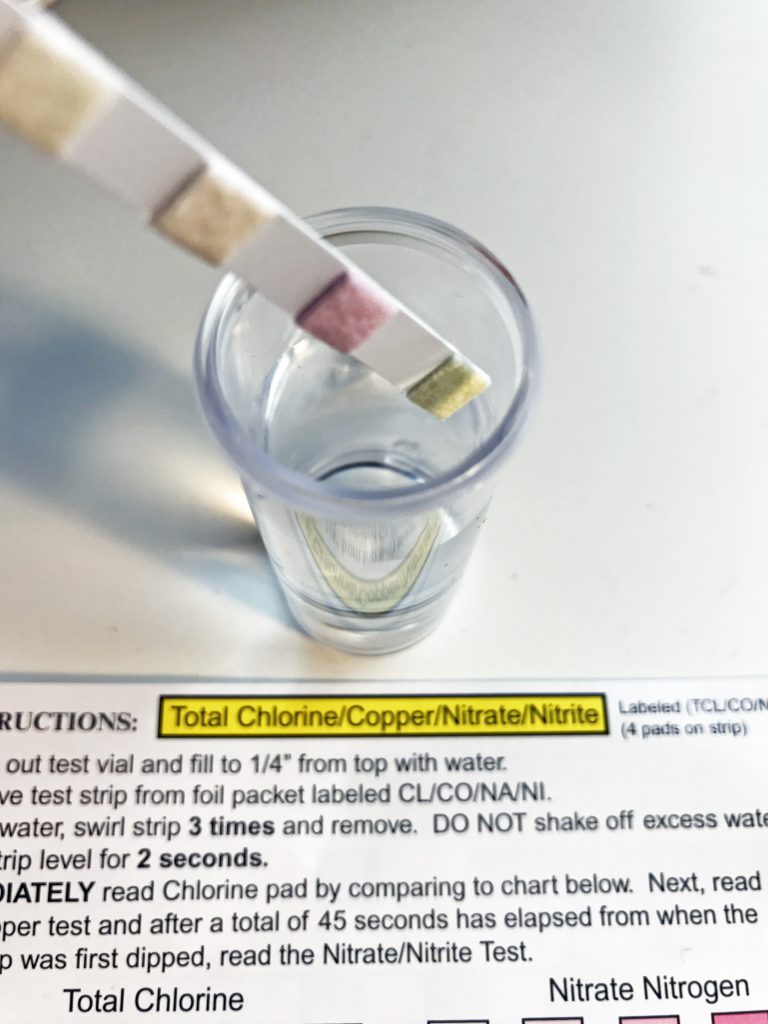
- All right, now put the test strip on the instruction paper where it reads “Hold test strip here. SEE PHOTO BELOW:
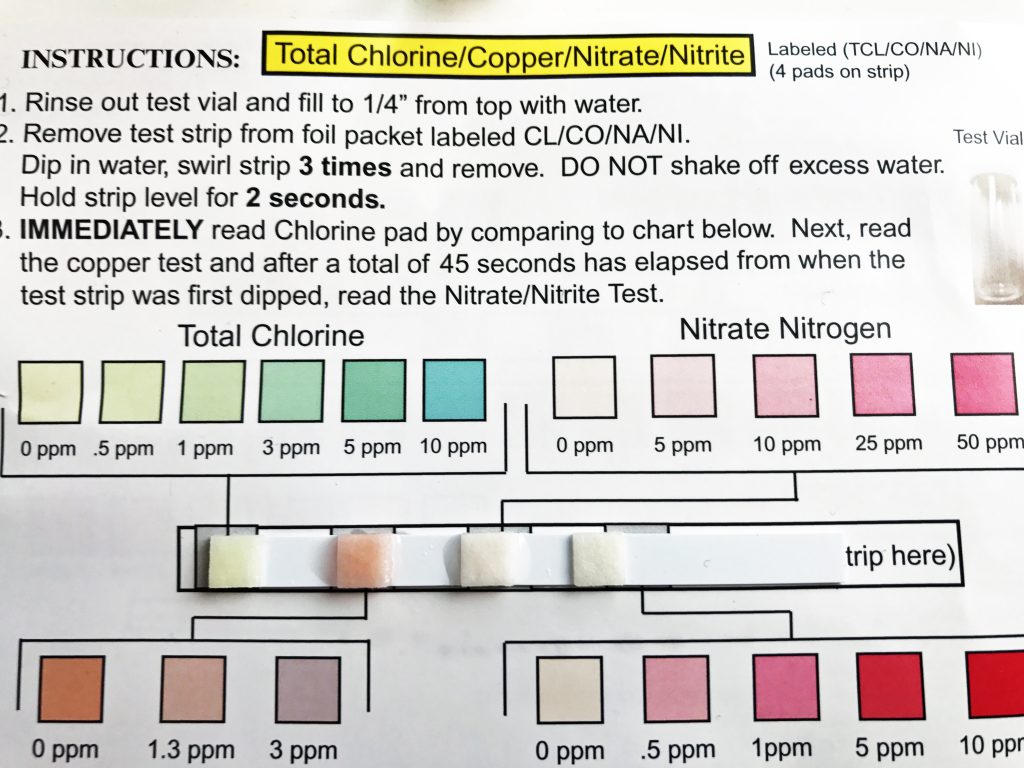
- IMMEDIATELY get the results for the Chlorine pad! Write the results down in our nifty little book.
- Next, read the results of the copper test…write down the results.
- You need to wait at least 45 seconds (or ¾ of a minute) before you test for Nitrate/Nitrite test. Getting hungry again….
- Write down the results down in your handy little results notebook.
Now for the Cool Tool – THE TDS

This tool is really cool. Not only will it test the for the total amount of all inorganic and organic substances contained in a molecular, ionized, or micro-granular suspended form, it will also check your temperature and transport you to any planet or what ever dimension you choose.
 How to use your TDS
 How to use your TDS
- Take the TDS out of the specialized Italian tailor made black case.
- Take off the plastic protective cover on the bottom, which will expose the test prongs.
- Turn on the power.
- Pour the content (H2O) of the small plastic container “A” into a clean class or small cup (repeat for each of the small containers).
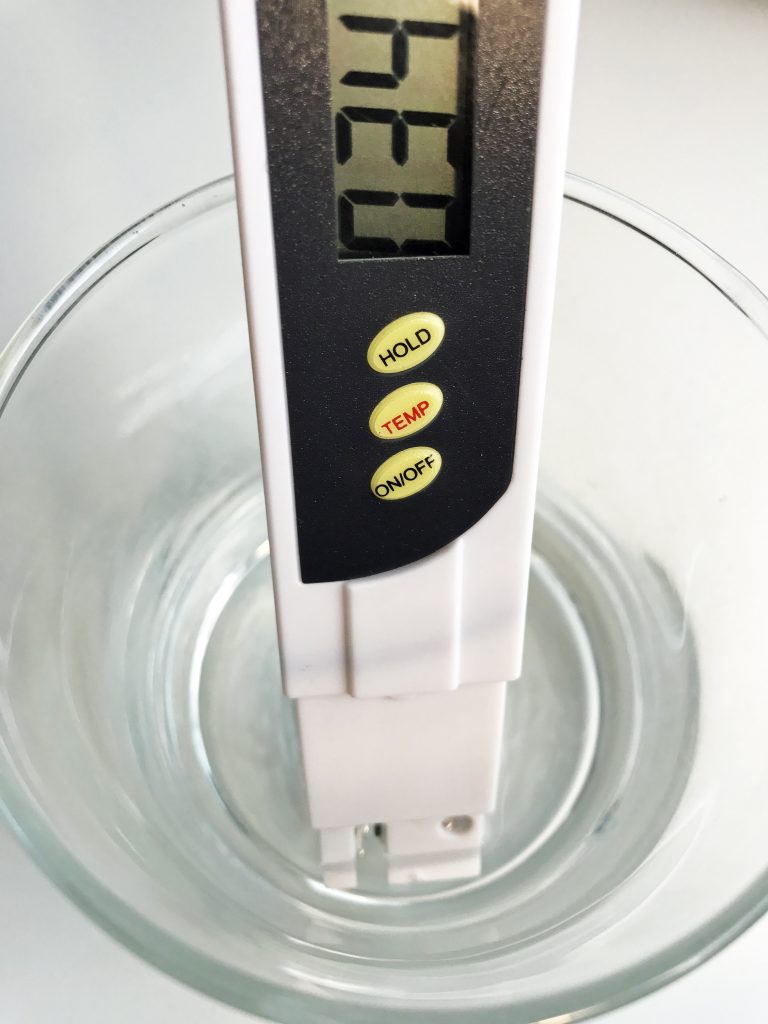
Place the bottom of the TDS into the water one at a time; A, then B, then C, then D.
Record your ppm results in your cool little book we made you.
Note: you can use the hold button to hold the the results that were gathered from your test.
